
Manchego and Thyme Popovers
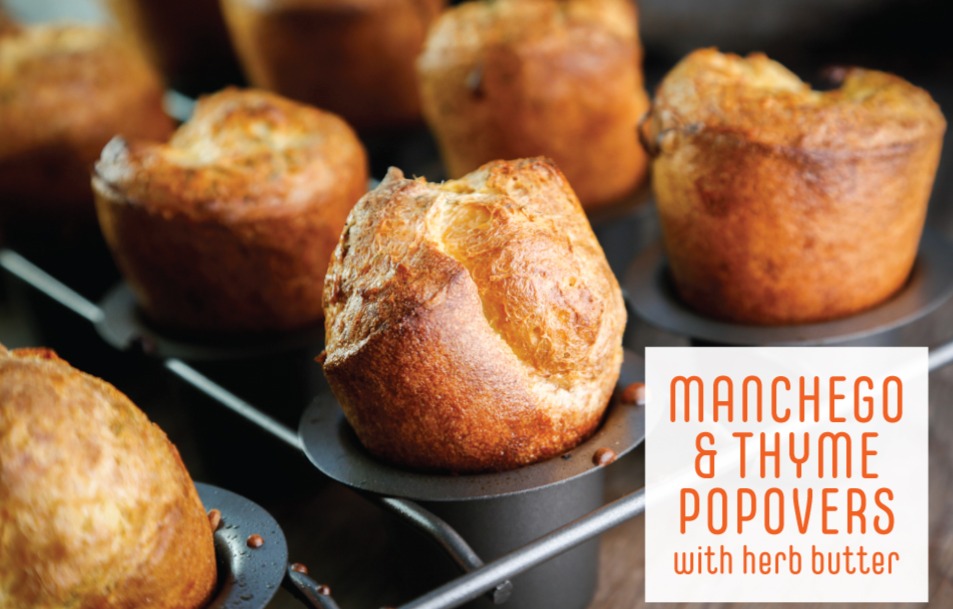
Have you ever made popovers? These high-rising rolls have a soft, airy inside and a crispy, crunchy exterior. They are meant to be enjoyed straight out of the oven (slightly
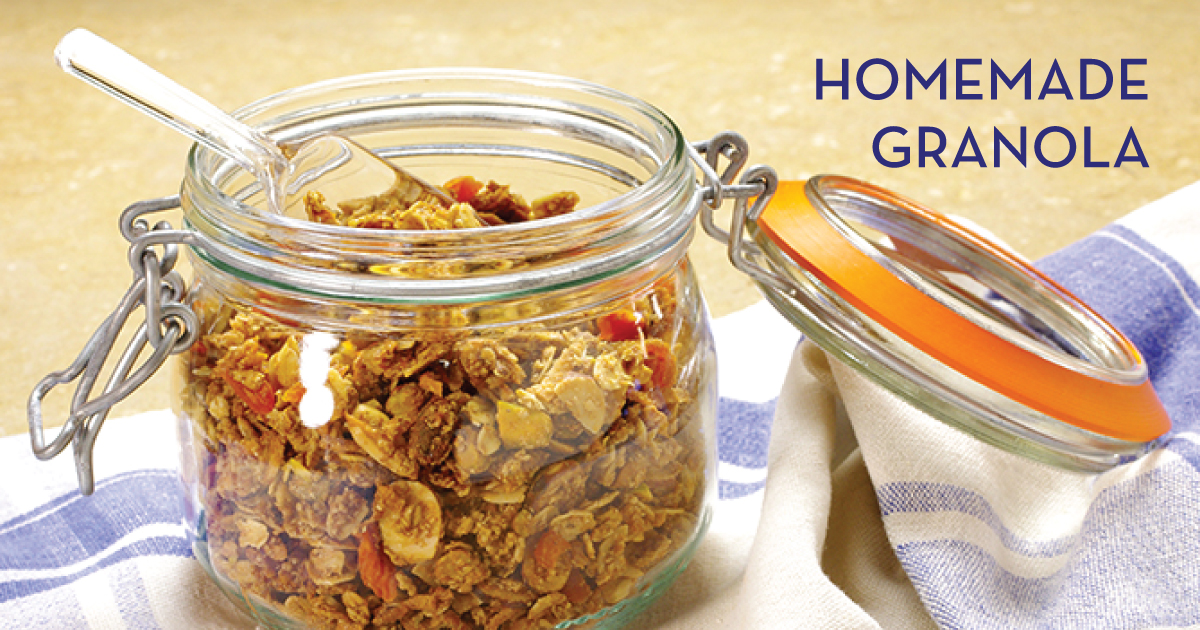
Fresh granola is such a treat, and quite easy to accomplish. Eat with yogurt and fresh fruit for a hearty start to the day. Get our recipe here: http://ow.ly/coHk30sSaAi
Pappardelle With Bolognese
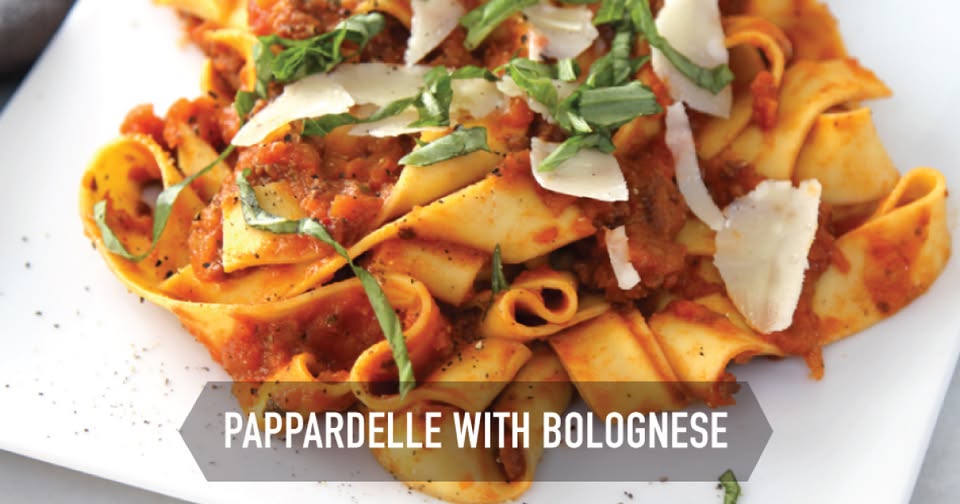
We love a pasta that can make any day better. Enter Pappardelle with Bolognese! Wide ribbons of pappardelle coated in a rich, slow-simmered Bolognese makes for a hearty weeknight or
Planning a Steak Dinner for Two
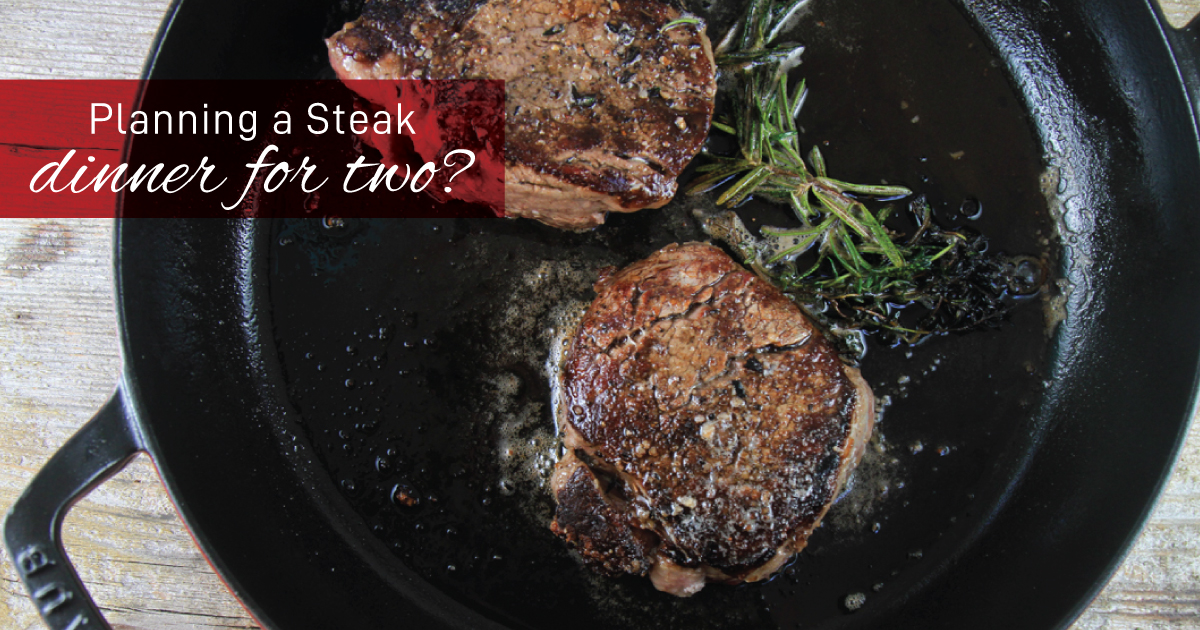
For steakhouse results at home, sear steaks in a ripping-hot cast iron skillet to get that crave-worthy crust, then finish in the oven for a perfect medium-rare every time. It’s
Cauliflower & Leek Soup
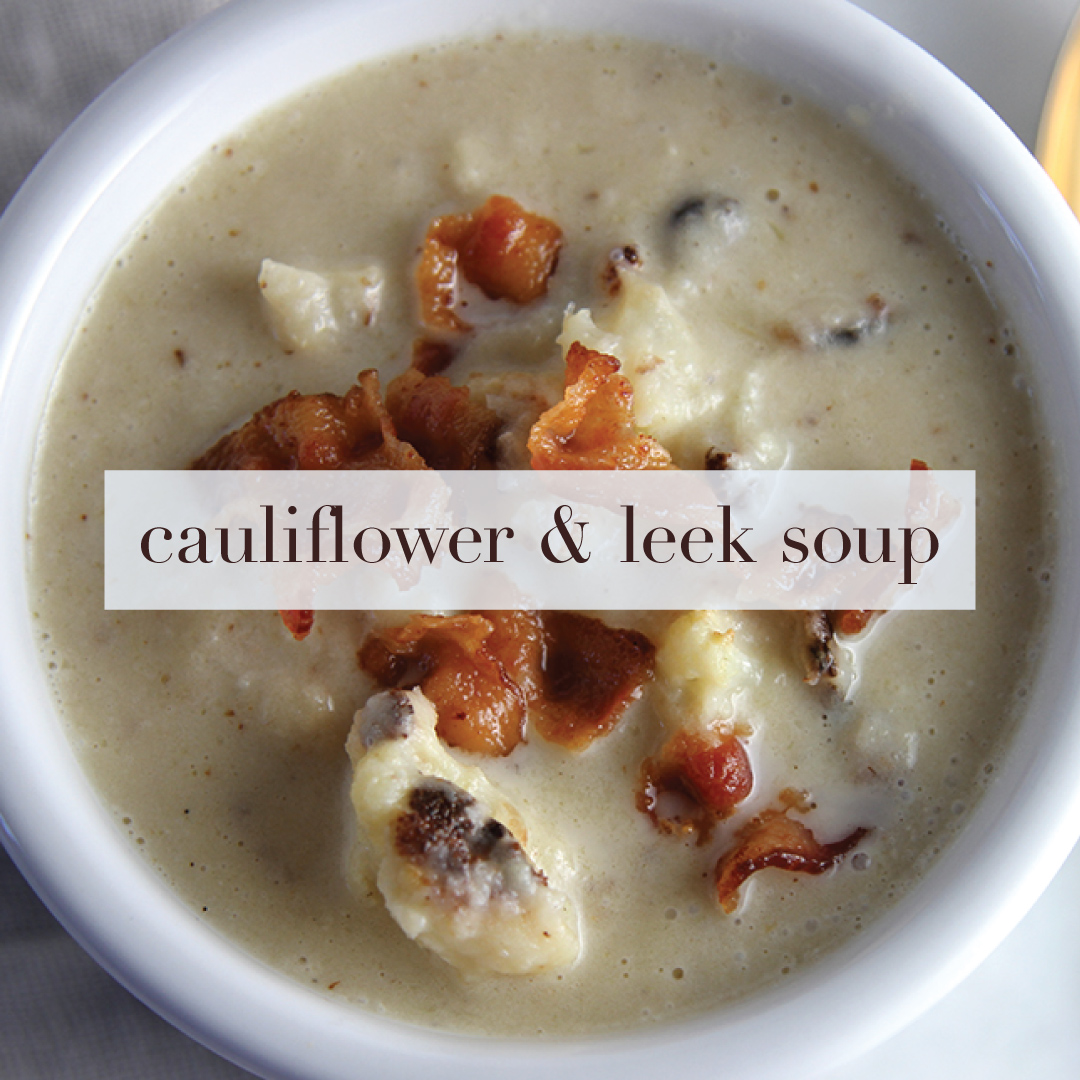
Try our cozy cauliflower & leek soup! It’s easy to make with healthy ingredients. Puree the soup right in the cooking pot with an immersion blender! Get our recipe here: http://ow.ly/q2Tq30sRqOI
Mushroom & Goat Cheese Bruschetta

Bruschetta make a great appetizer anytime, but is especially handy when you need something quick. Sauté mushrooms to silky perfection, heap them on grilled bread slathered with fresh goat cheese
Spinach, Bacon, Pear Salad
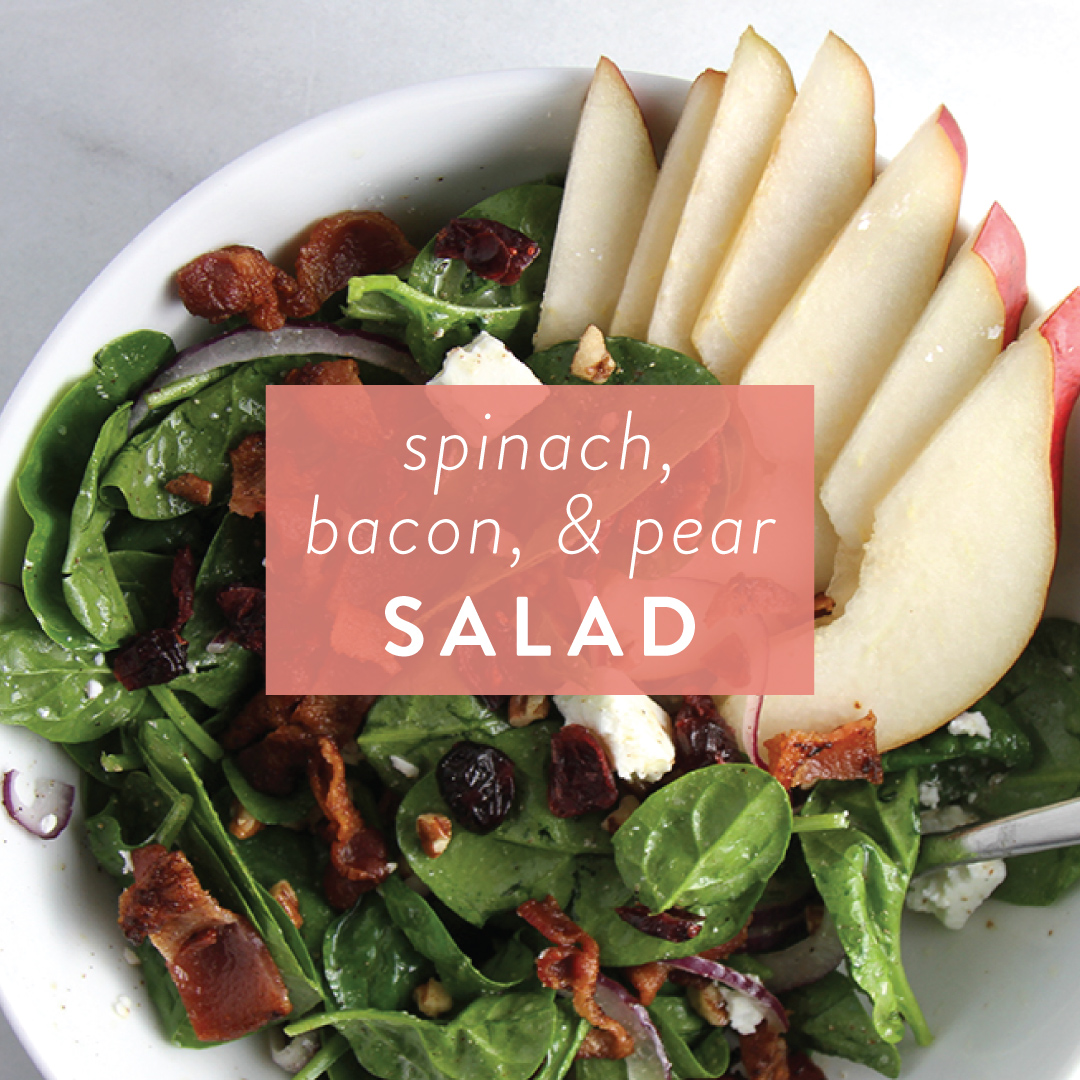
Pears are peaking! Try this delightful salad featuring ripe pears, spinach, bacon and a honey-dijon vinaigrette. Add a little grilled chicken and it becomes an entree! Get our recipe here: http://ow.ly/e0Vc30sPelA
Cupcake Hack Time!
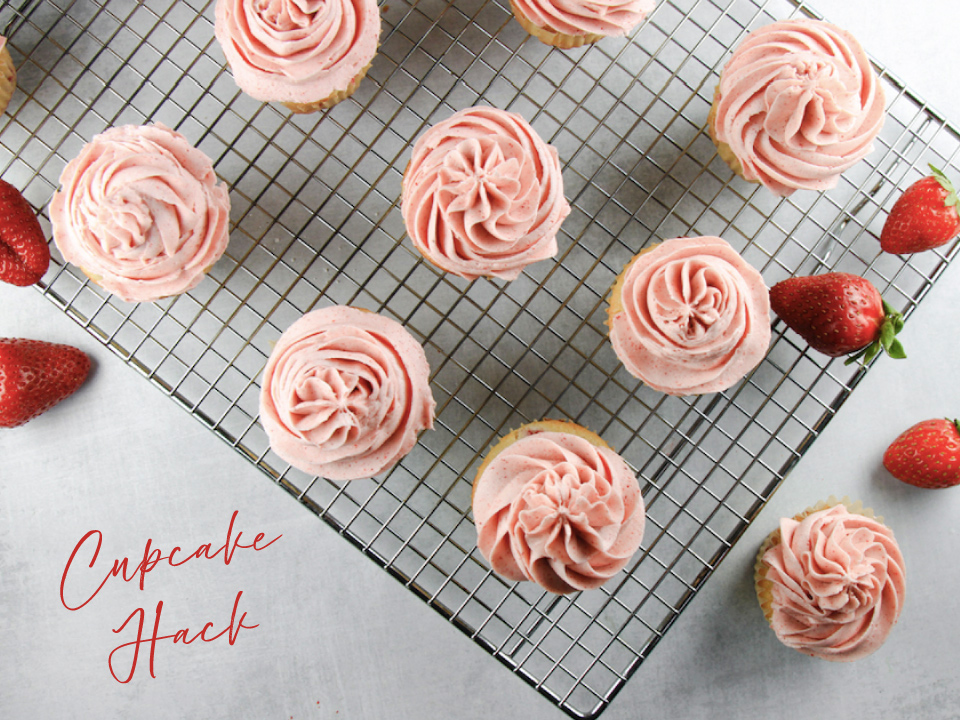
Cupcake hack time! The next time you bake a batch of cupcakes, try adding a little uncooked rice into the wells of the cupcake pan before placing the cupcake liners. The rice grains will soak up moisture and result in less greasy cupcake liner bottoms. It also helps the cupcakes bake more evenly. Have you tried this trick?
Maximize Your Blueberries

Whether acquiring fresh blueberries from the grocery store, farmers market, or a you-pick blueberry farm, maximize freshness by waiting to wash them until right before eating. Unlike other berries that can benefit from a quick water and white vinegar soak right when you get home, blueberries actually have their own natural protective coating called a bloom (that's what that waxy white-ish layer on their surface is)! Washing them immediately removes this protective layer, so this is one berry where procrastinating on washing is to your benefit
Pre-Salting Cabbage
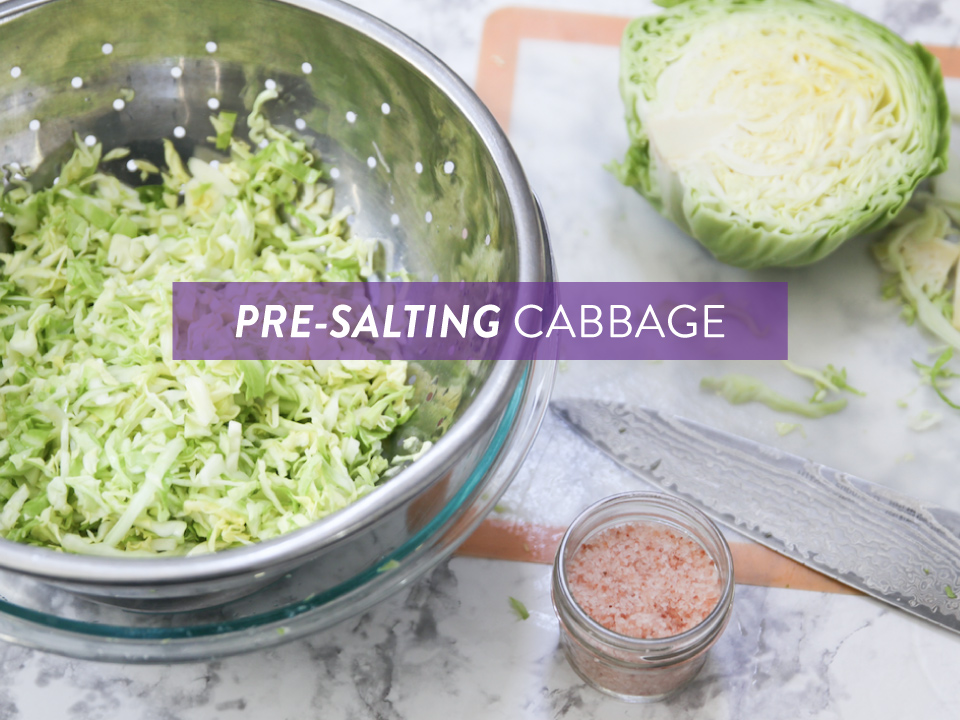
Keep cabbage in coleslaw crispy and avoid watery dressing at the bottom of the bowl by pre-salting the cabbage! Once a cabbage is shredded, sprinkle it with about a tablespoon of salt and toss to coat. Let the salted cabbage sit in a colander over a bowl for about an hour. At this point the salted cabbage can be rinsed and dried in a salad spinner or by squeezing out water with a towel. Proceed with your favorite coleslaw recipe and enjoy a perfectly prepared side dish! What's your favorite coleslaw combo? Let us know in the comments!